The process
From Burl to Bowl
A maple burl becomes a finished bowl, one step at a time.
1
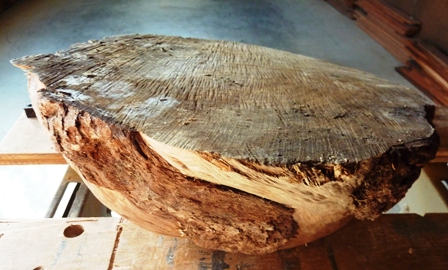
Top of burl
2
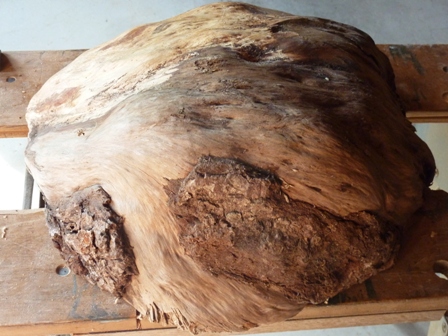
Bottom view of burl
3
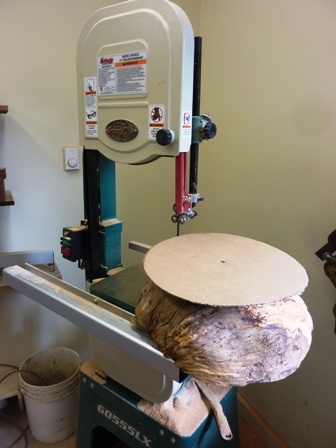
Cardboard template for cutting the edges of the burl on the bandsaw
4
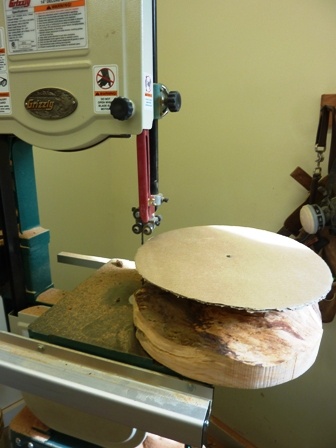
Cutting completed on the bandsaw
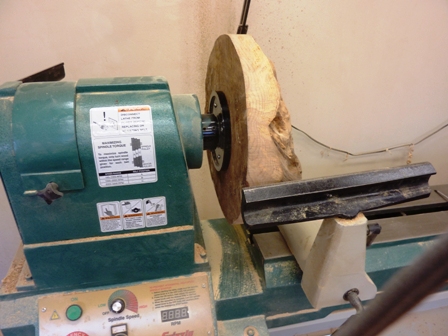
5
Mounting the burl on the lathe with a face plate
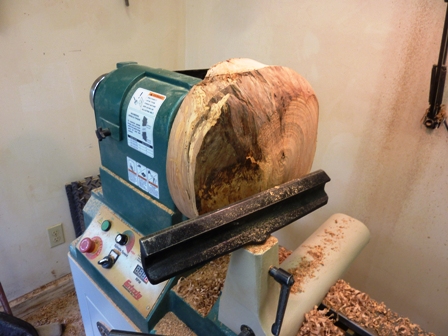
6
Burl after the edge is trued with a gouge
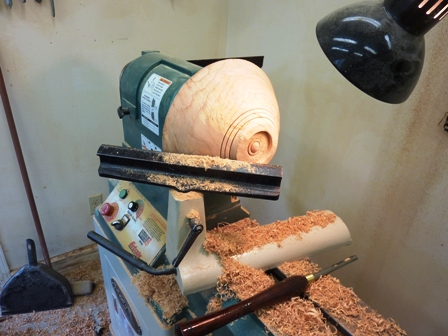
7
Bottom of the bowl finished with a recess for the chuck
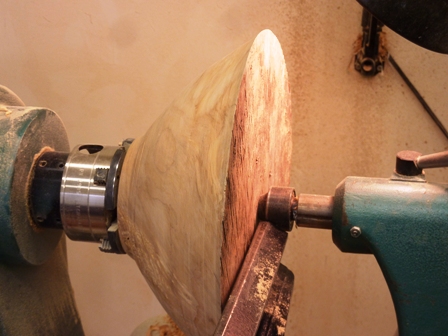
8
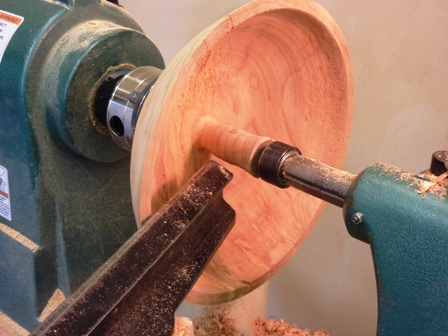
Bottom of the bowl attached to a chuck
9
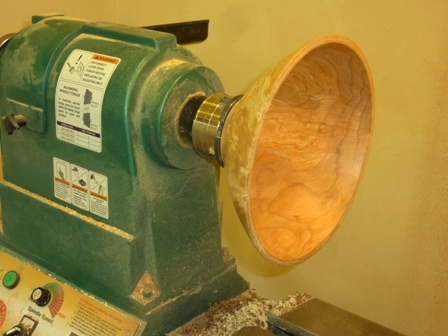
Hollowing out the inside of the bowl
10
Ready for sanding
11
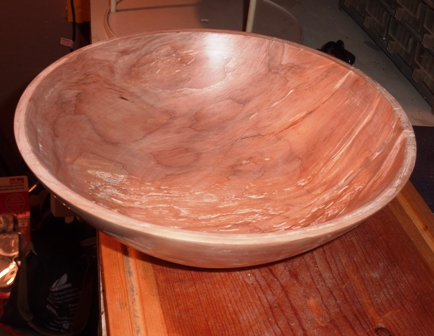
Ready for finishing